If you ride your dirt bike long, you are sick of looking at the same old graphics. If you are looking for something interesting and fun on your riding then replacing your Dirtbike Graphics will be beneficial to you.
Many riders prefer to deal with this situation because they think it is a painful and tiring process to install new graphics on their bike. However, it may be interesting for you to install a new bike graphic if you take care of everything and work carefully.
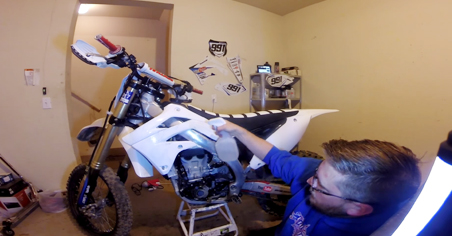
To install new dirt bike graphics, removing the old graphics is important. If the process is to be simplified, you can remove the plastic from the bike so that you can work with it easily. Once you remove the plastic, the existing graphics can be easily removed without any problems.
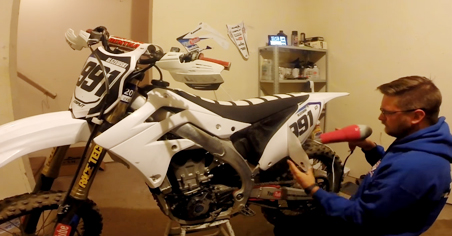
It is good for you to heat the graphics with a hair dryer or heating weapons that most of the adhesive is removed from the graphics. However, it is important to be careful, not to melt the graphs but just to warm them up to the level that makes them flexible.
After that, most adhesive can be made when you pull the heated graphics back and make it much easier for the plastic to clean. If a graph is left on your bike, you can heat it again to make it flexible.
Now, once you remove all old graphics from your bike, you can purify the plastics. You can wash your bike with detergent and clean it with a contact cleaner together with a towel in the microfiber shop.
You need to ensure you remove all adhesives and other residues so that new graphics can be easily installed on your motorbike. You do not have difficulty replacing your old dirt bike graphics, but it is important for you to patiently remove and install graphics so that you can carry out the job properly. You have to pay attention to everything to efficiently install the new graphics.
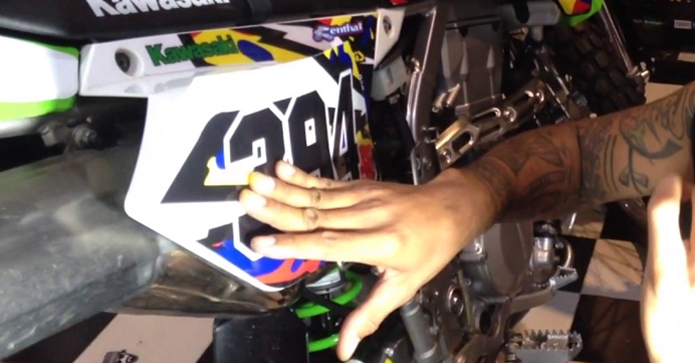
When using the new dirt bike graph, only a small part of the back paper needs to be removed to enable you to work easily in a smaller area. If you remove the whole back paper, you will face some trouble to stick to it all. Then, align the graphics edge to the plastic and then place it on the bike. Ensure that the chart works in one direction, reducing the number of plumps and bubbles.
Place new graphics
Start by choosing a piece of plastic on which you want to graph. You can start everywhere, but most people start and get back to work. You can make the graphics easier and more flexible to work with. Remove a small part of the decal to make sure that you work with a small area. When you place the decal, make sure you work in the same direction to reduce the number of plumps and bubbles.
Now, after the first graph is successfully down, you can repeat the process until you are finished. Even if it is not perfect, do not worry. You just have to dry your hair or heat gun and put the plugs and the bubbles out.
Maintain these tips
You must ensure that the graphics are not installed in a damp or cold area. You can improve their lifespan in this way.
You can also start out from the center and push the bubbles out, then remove the next back paper and repeat the process for installing the entire graph. Today, on our online platform you can easily find high quality and affordable dirt bike graphics that can save your time and effort.